맨 처음, 로그인 기능을 만드는 방법은 크게 두 가지를 언급했다.
첫번째는 spring boot 자체에서 로그인 기능을 구현하는 방법.
두 번째는 OAUTH를 사용해 외부 로그인 api를 활용하는 방법.
우선, 첫 번째 방법으로 구현할 생각이다.(둘다 해보긴 할거임!)
spring boot 자체에서 로그인 기능을 구현하는 방법도 크게 두 가지로 나뉜다.
먼저, JWT을 이용하는 방법. 이건 복잡하지만 활용성이 높은 것 같다.
다음은, spring security를 이용하는 방법. 우선은 이게 쉬워보여서, 이걸 한 후 이해도를 높여서 JWT도 해볼까 싶다.
이걸 하기 전에, 간단하게 html로 웹 사이트에서 아이디 비번 제출하여 로그인하는 란을 만들고,
메인 화면과 이것저것..추가해보려 한다.
spring boot에서 html을 불러오는 컨트롤러를 만들기 위해서는 thymeleaf 종속성을 추가해야한다.
다음과 같이 build.gradle 파일에 종속성을 추가한다.
dependencies {
	...
		implementation 'org.springframework.boot:spring-boot-starter-thymeleaf'
        ...
}
thymeleaf란 웹페이지를 동적으로 구성하게 해주는 java 템플릿 엔진으로, 기존 jsp가 서블릿으로 변환되는 것과는 달리 그 과정이 없어 비즈니스 로직의 완전 분리가 가능하다.
즉, thymeleaf는MVC구조에서 view 를 담당하는데, 그렇기때문에 controller단에서 데이터를 넘겨줘야 한다.
진짜로 구현하기에 앞서, 테스트 용으로 컨트롤러와 html 파일을 만들었다.
우선, html로 웹 페이지를 구성한다.
html 파일이면서도, thymeleaf 문법에 맞게 써야 한다.
<html xmlns:th="http://www.thymeleaf.org">이렇게 thymeleaf를 사용할거라고 선언해야 해당 문법으로 동적인 화면을 구성할 수 있다.
다음과 같이, testThymeleaf.html 파일을 resorces/templates 아래에 만들었다.
<!DOCTYPE html>
<html xmlns:th="http://www.thymeleaf.org">
<head>
<meta charset="UTF-8">
<title>Insert title here</title>
<script type="text/javascript"></script>
</head>
<body>
    <h1>test page!</h1>
</body>
</html>
그리고 controller 패키지를 만들어 testController.java 클래스를 생성했다.
package com.example.loginserver.controller;

import org.springframework.stereotype.Controller;
import org.springframework.web.bind.annotation.GetMapping;
import org.springframework.web.bind.annotation.RequestMapping;
import org.springframework.web.bind.annotation.RequestParam;
import org.springframework.web.bind.annotation.ResponseBody;
import org.springframework.web.bind.annotation.RestController;

@Controller
@RequestMapping(value="test")
public class testController {

    @ResponseBody
    @GetMapping("/get")
    public String testGet(@RequestParam("id")String id){
        return "id is " + id;
    }

    @GetMapping("/thymeleaf")
    public String testThymeleaf(){
        return "testThymeleaf";
    }
}
"/test"로 시작하면 무조건 이 컨트롤러에 들어올 것이고,
일반적인 get 메소드 사용 시 어떻게 되는지를 테스트하기 위한 "/get"과,
thymeleaf와 연동되도록 테스트한 "/thymeleaf"를 만들었다.
여기서 주의할 점은, @RestController를 많이 사용하는데, @RestController=@Controller+@ResponseBody라서
@ResponseBody annotation은 json 형식으로 바꿔 리턴시켜준다.
따라서 이걸 get 메소드에는 써도 되지만, thymeleaf를 연결해주는 곳에는 쓰면 안 된다.(애초에 json으로 리턴하면 안되니까! 그럼 진짜 thymeleaf 파일이 열리는게 아니라 그냥 그 파일 명이 전달됨)
그래서 클래스 맨 위에는 @Controller annotation만 붙이고,
testGet에는 @ResponseBody를, testThymeleaf 위에는 아무것도 붙이지 않았다.
이제, get 메소드를 테스트해보면,
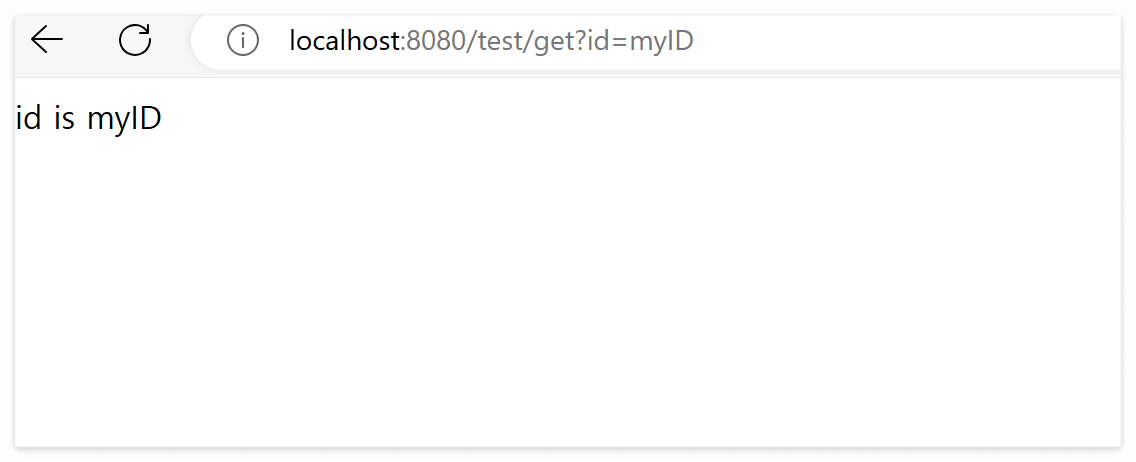
이렇게 뜨게 되고,
thymeleaf 메소드를 테스트해보면,
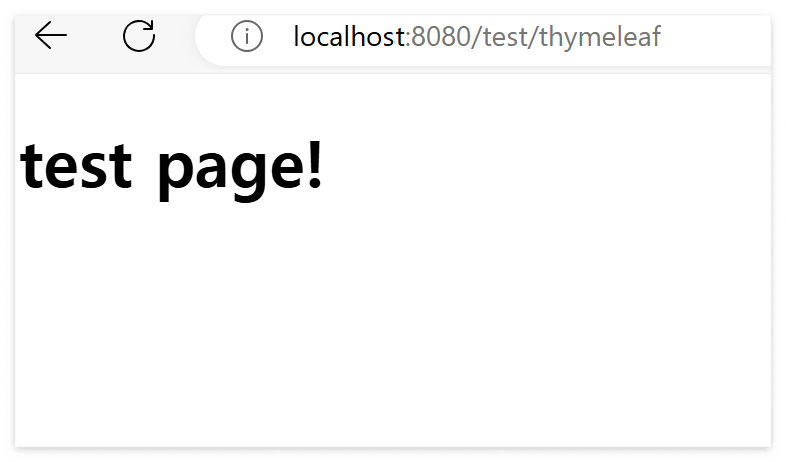
이렇게 설정한 html 페이지가 뜨게 된다.
참고자료 :
'개발 > Spring Boot' 카테고리의 다른 글
| [로그인 기능 만들기] 7. website login-form 만들기(3) (0) | 2024.05.24 |
|---|---|
| [로그인 기능 만들기] 6. website login-form 만들기(2) (0) | 2024.05.24 |
| [로그인 기능 만들기] 4. JPA를 사용한 DB 구현(1) (1) | 2024.05.09 |
| [로그인 기능 만들기] 3. 비즈니스 로직 (0) | 2024.05.03 |
| [로그인 기능 만들기] 2. DB 기획(2) (0) | 2024.05.03 |